
IN PRACTICE / MARITIME
Visualizing ships before they are built.
Behind the scenes of maritime 3D visualization and animation
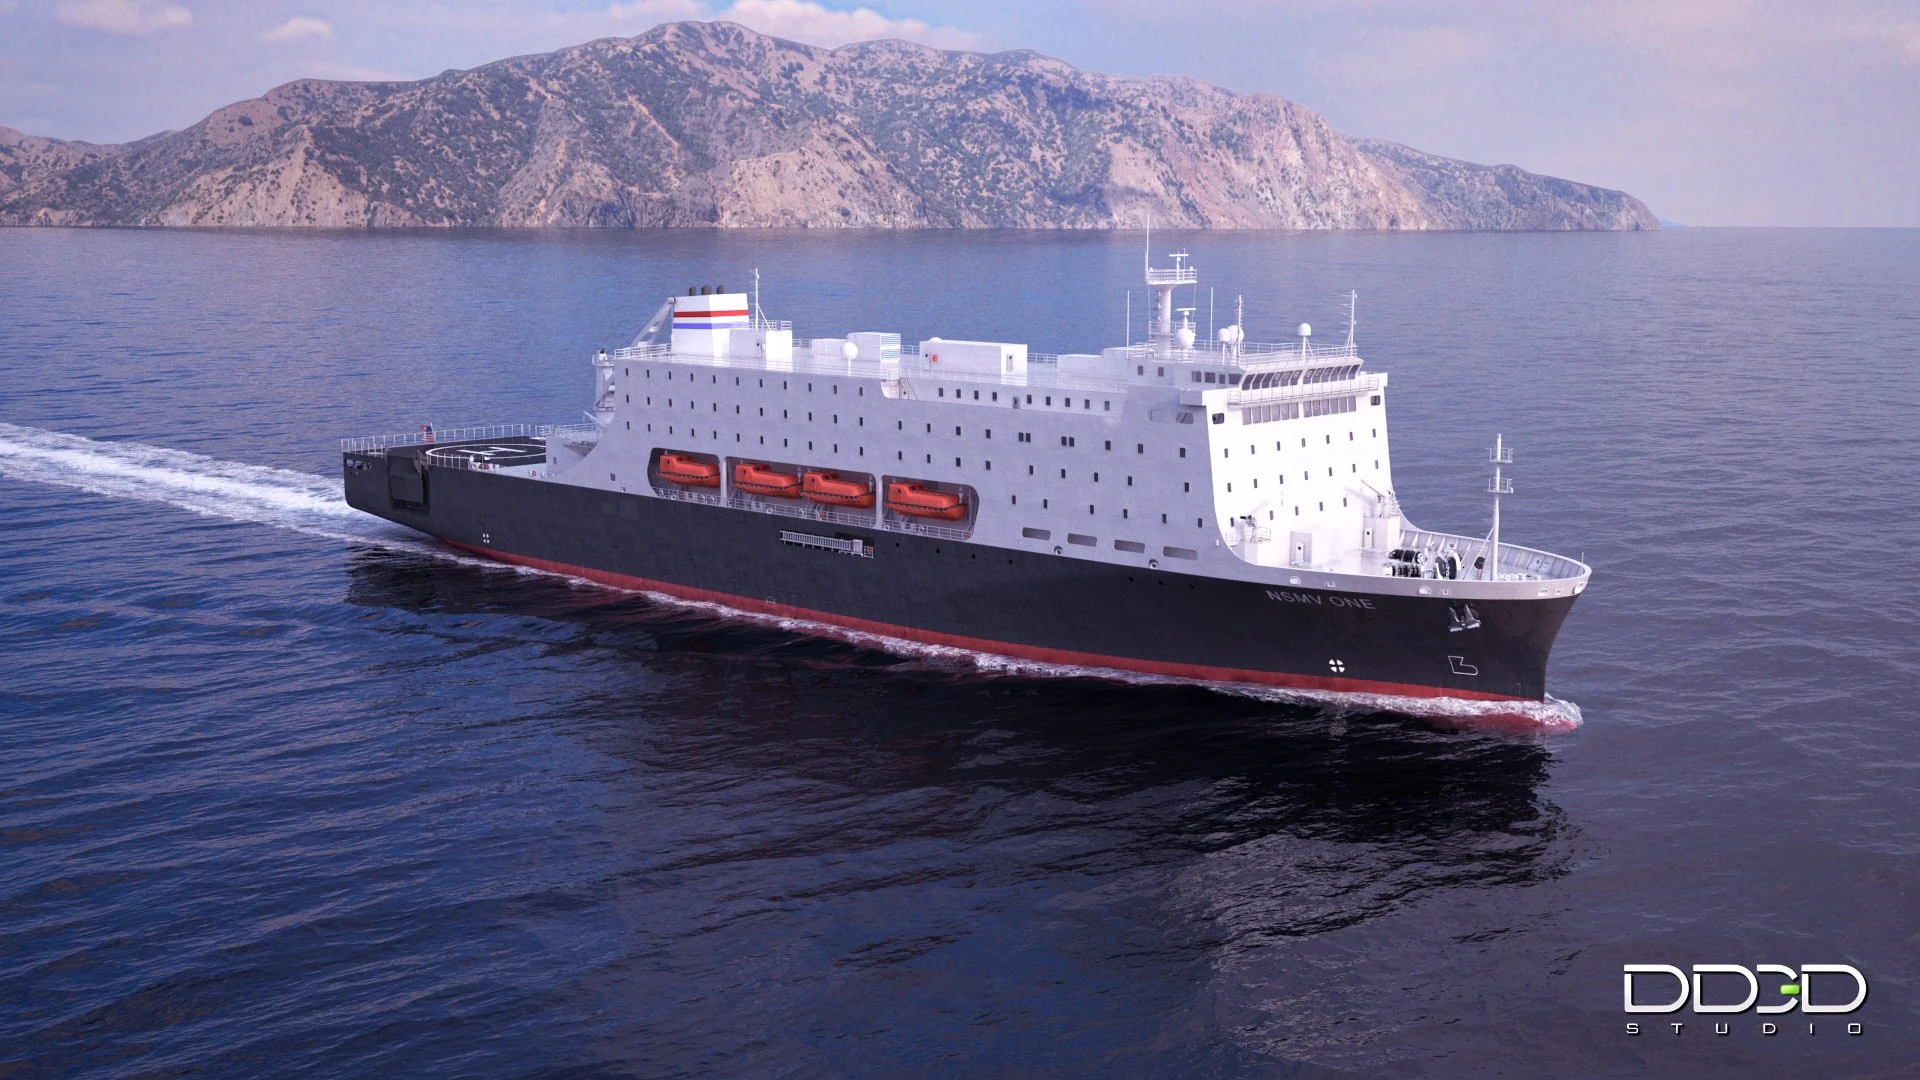
A ship can be well defined in drawings long before anyone can walk through its interiors or see it at sea. For the people designing it, those drawings communicate dimensions, arrangements and technical decisions. For future passengers or audiences outside the maritime industry, the same information can be difficult to picture.
Our work turns that information into images and films that help people understand what a vessel will look like, how its spaces connect and what it is designed to do.
Projects such as the National Security Multi-Mission Vessel and Scenic Eclipse show how this approach serves different communication needs, from explaining a training ship to presenting a cruise experience before construction begins.
Two vessels, two different stories.
NSMV: explaining the purpose of a training ship
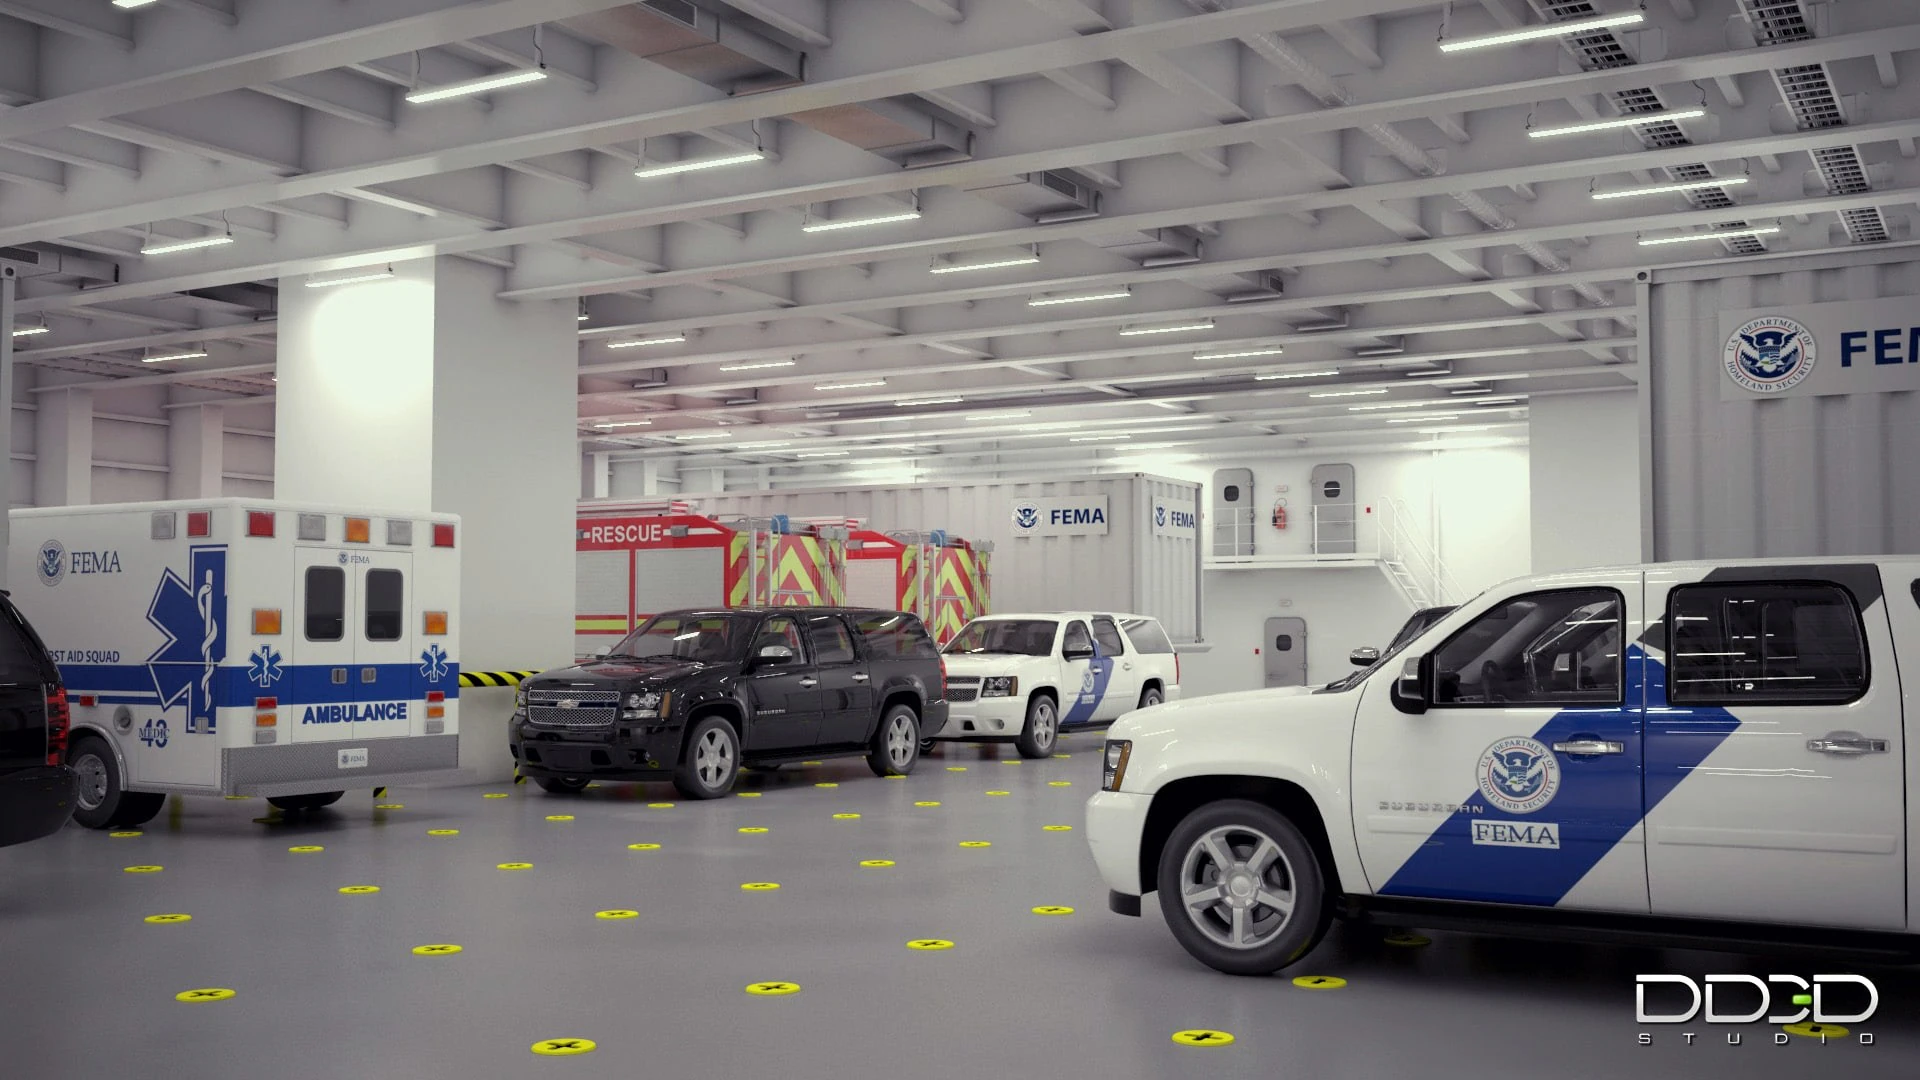
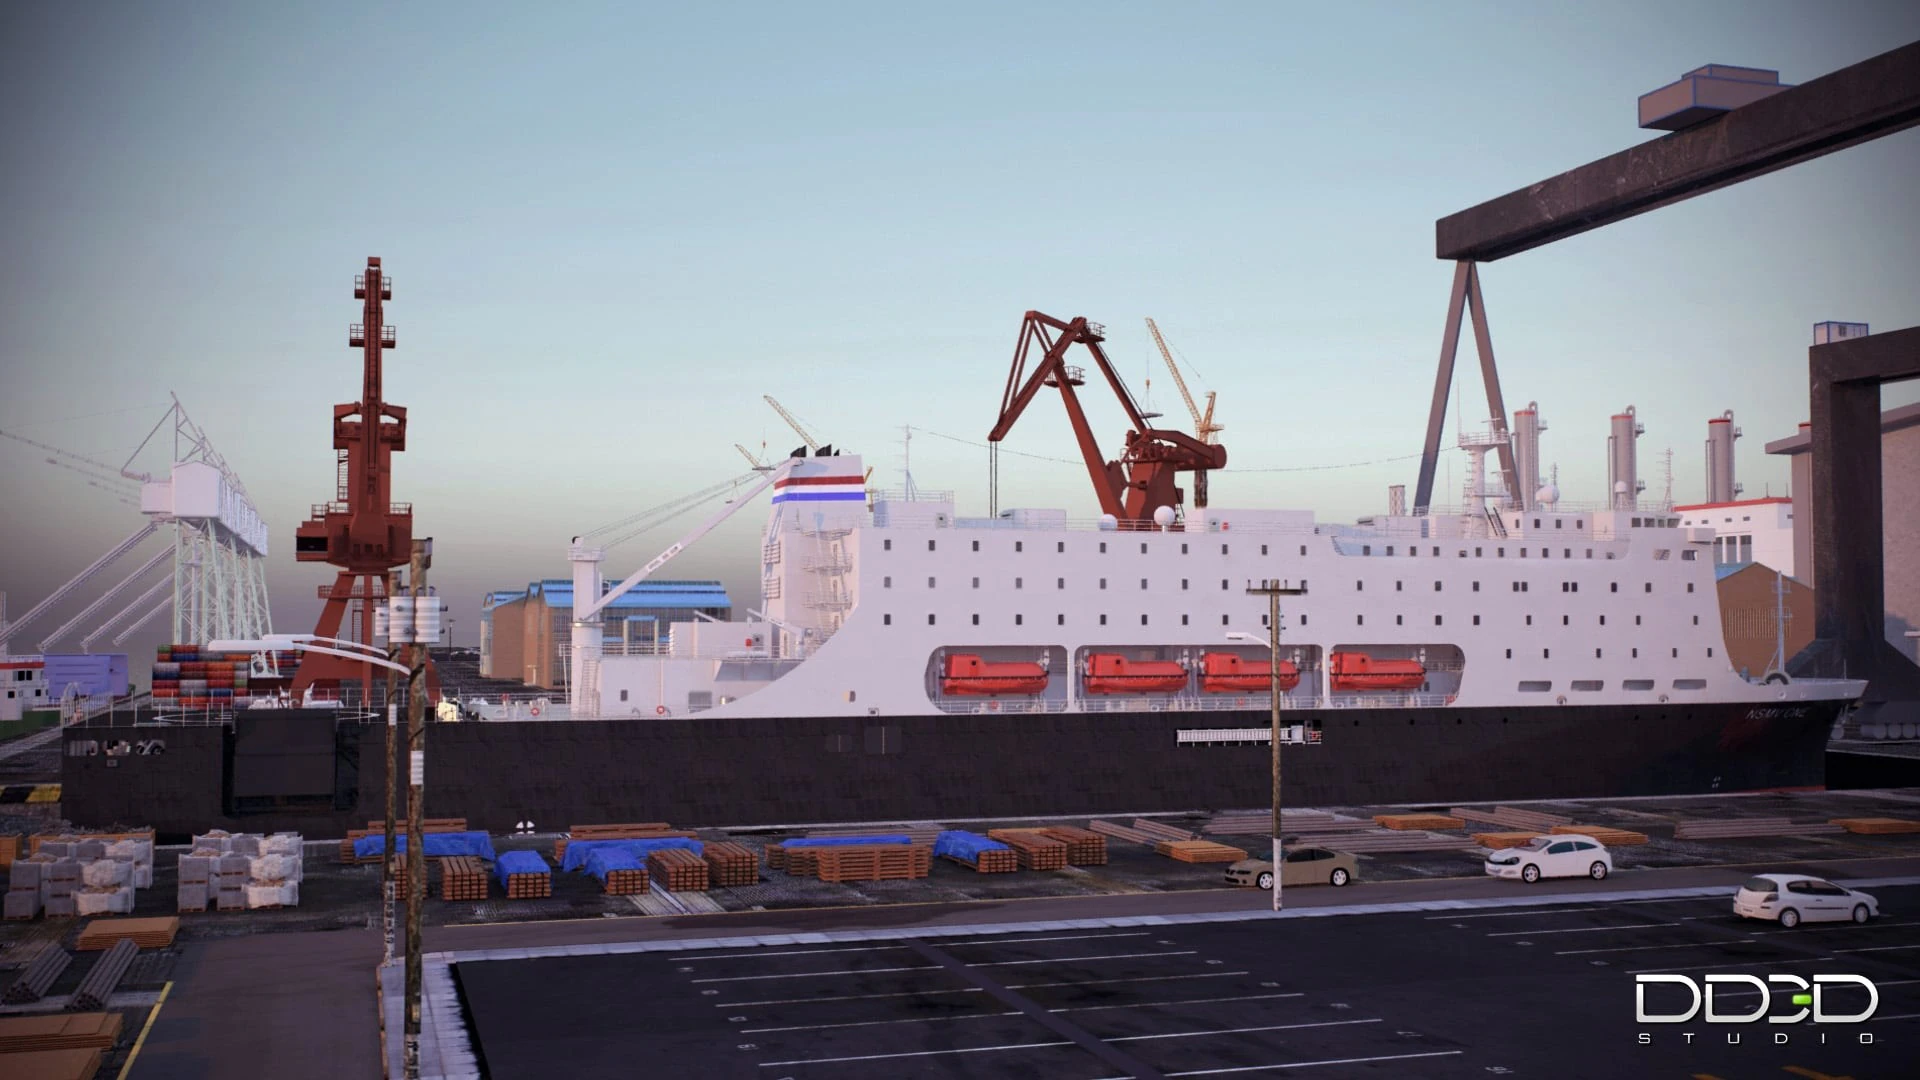
Herbert Engineering commissioned DD3D to produce a film presenting the National Security Multi-Mission Vessel, a maritime training ship for future US merchant marine officers.
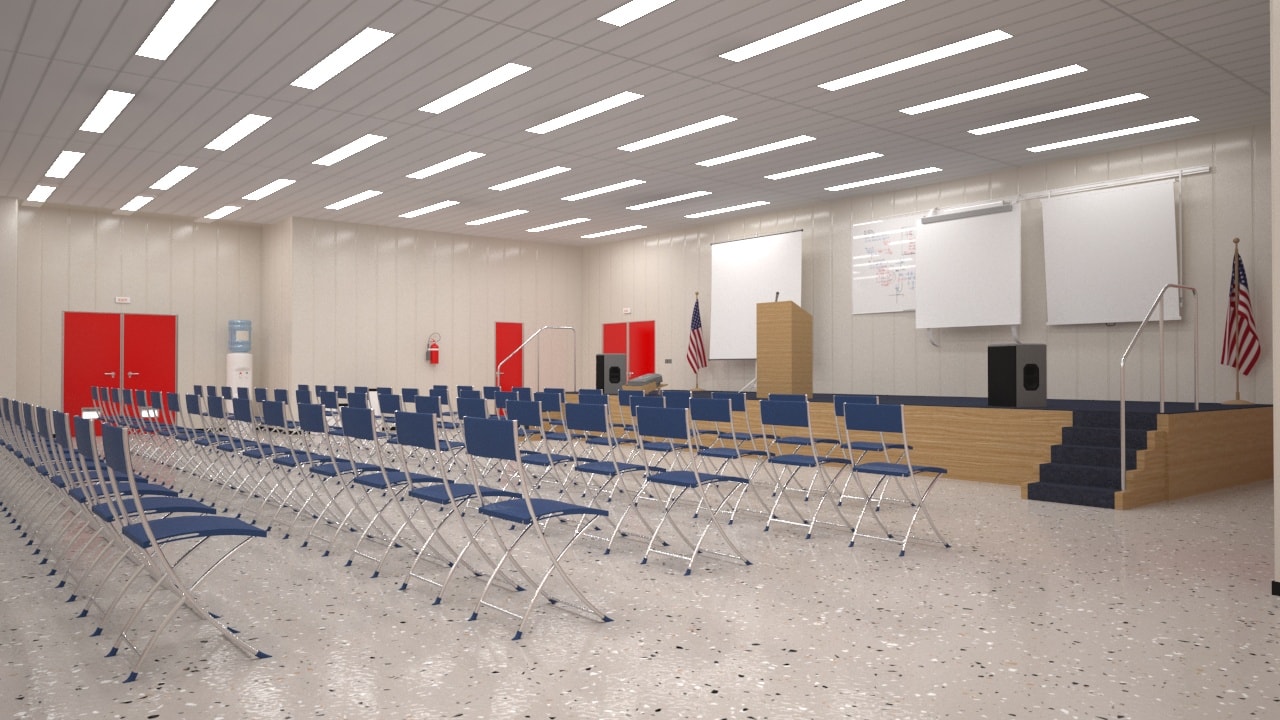
The presentation needed to show both the vessel as a whole and the spaces that support life and training at sea. Exterior views established the ship’s appearance, while scenes of the bridge, classrooms, workshops and shared spaces explained its role.
Working with the ship design team, we handled the production from script and storyboard through 3D modeling, animation, rendering, editing and narration.
The project took almost nine months and resulted in a seven-minute film. Its scope required more than a series of attractive views: the individual scenes needed to build a clear explanation of the vessel and its capabilities.
Explore NSMV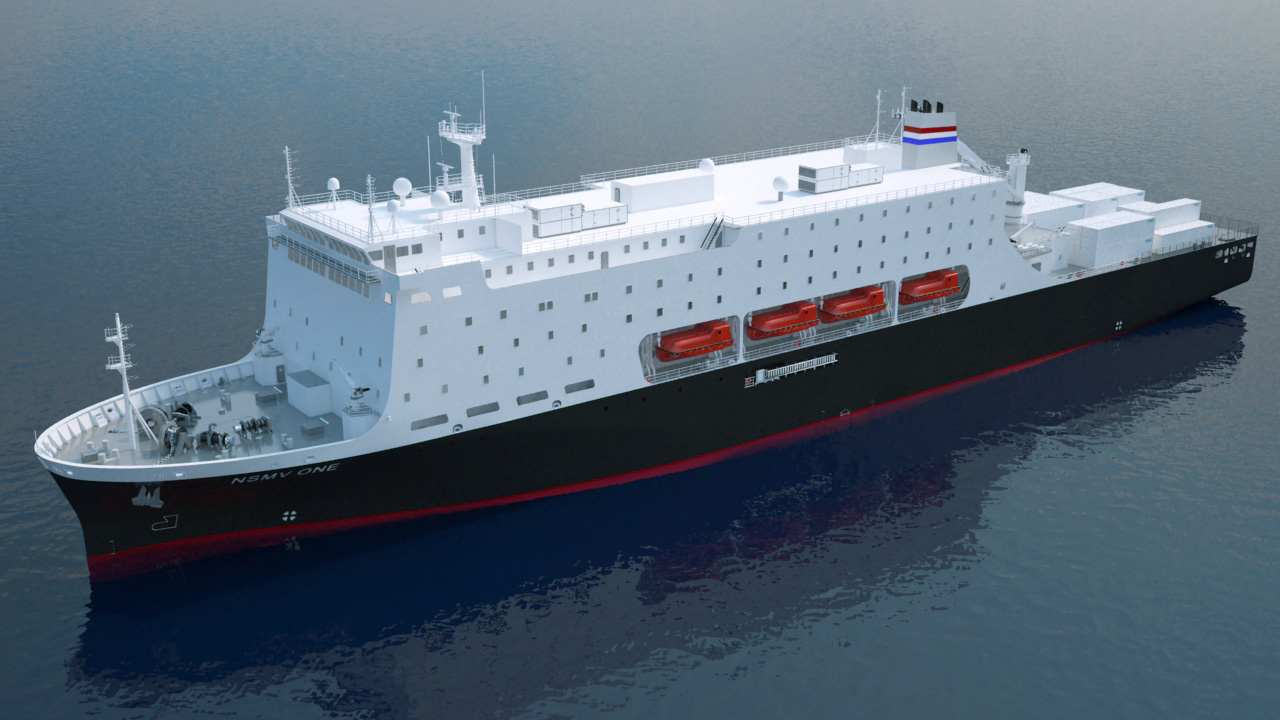
Scenic Eclipse: presenting a future cruise experience
For Scenic Eclipse, the immediate need was to create marketing material while the ship was still being planned.
We began producing the visualizations in January 2016. Scenic took its first booking the following month, before construction had started, for a cruise scheduled for August 2018.
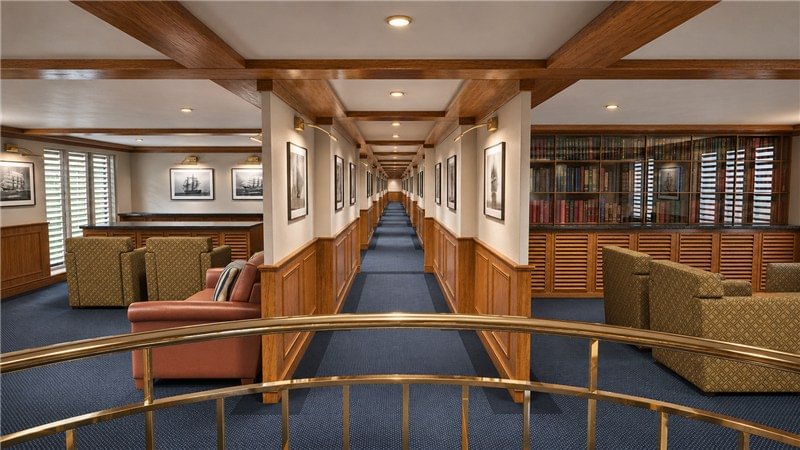
The images needed to help future passengers imagine the ship and the places it would visit. We created realistic views of Eclipse in its intended sailing environments, alongside brochure illustrations and an interactive 3D application.
Close collaboration with the design and engineering teams also allowed the visualizations to support the refinement of the ship’s design before it reached the shipyard.
Explore Scenic Eclipse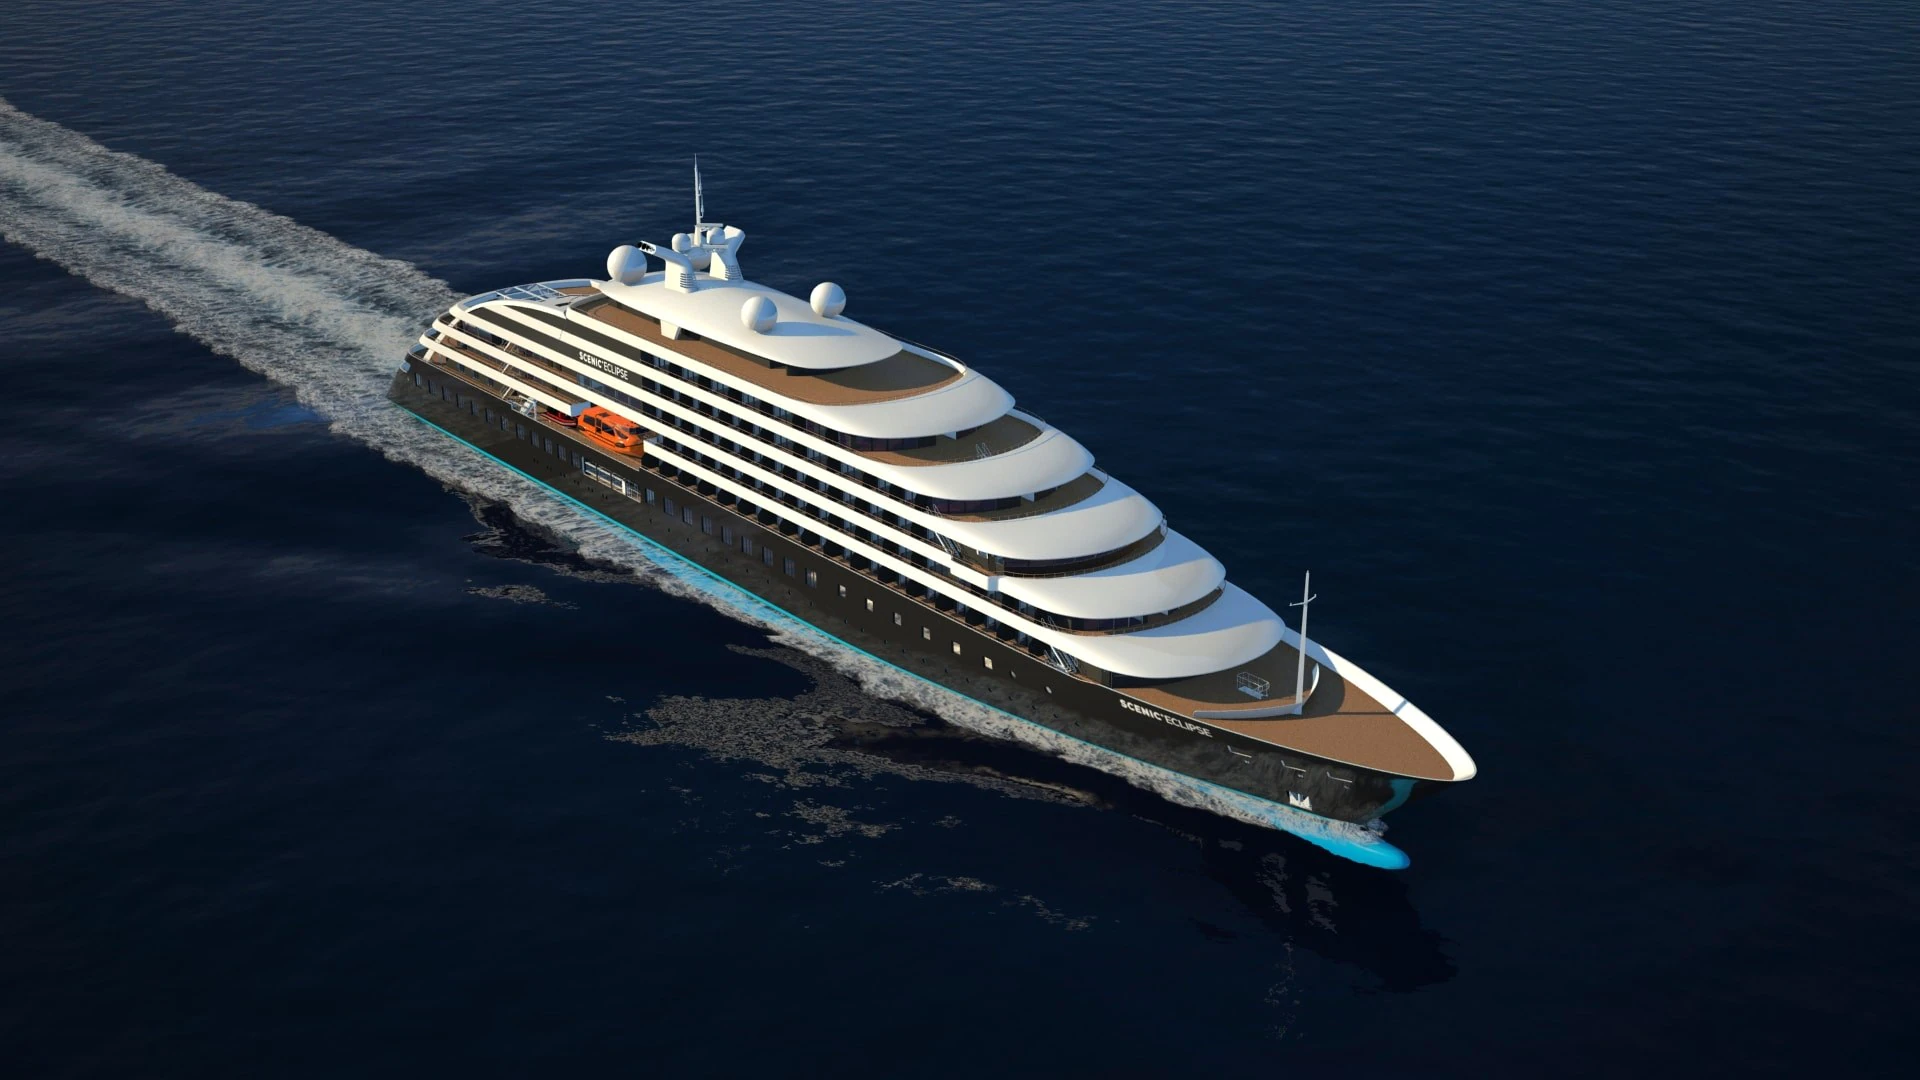
THE PROCESS / 01
Planning what the audience needs to see.
These projects began with different objectives. The NSMV film needed to explain a vessel’s purpose and features. Scenic Eclipse needed to introduce a future travel experience.
That distinction shapes the presentation from the start.
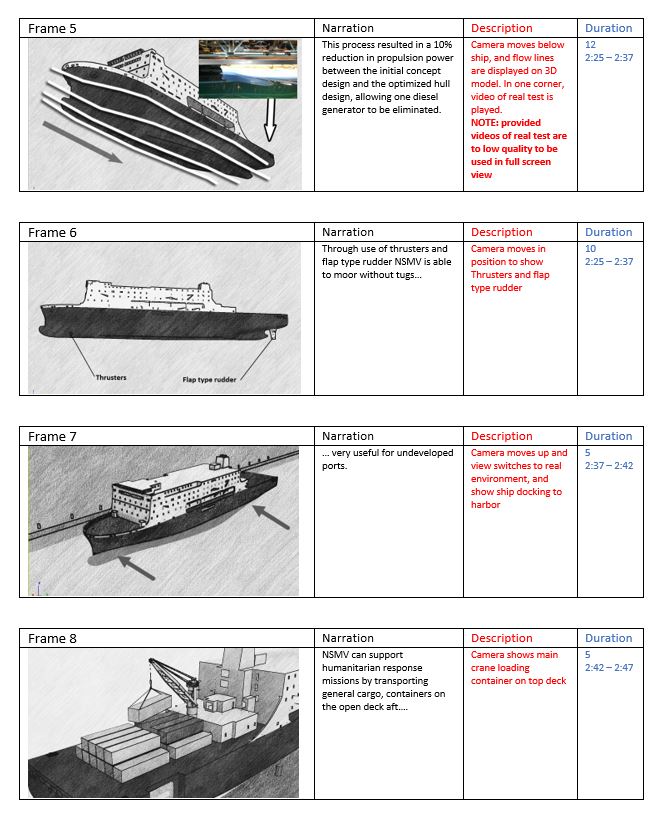
We develop a storyboard to establish what the film will show and how its scenes will connect. It identifies which interiors matter, which technical features need explanation and where broader views of the vessel help the audience understand the whole.
For the client, the storyboard provides an early opportunity to review the direction of the film. It is easier to discuss a missing feature or an unclear sequence while the presentation is still being planned.
THE PROCESS / 02
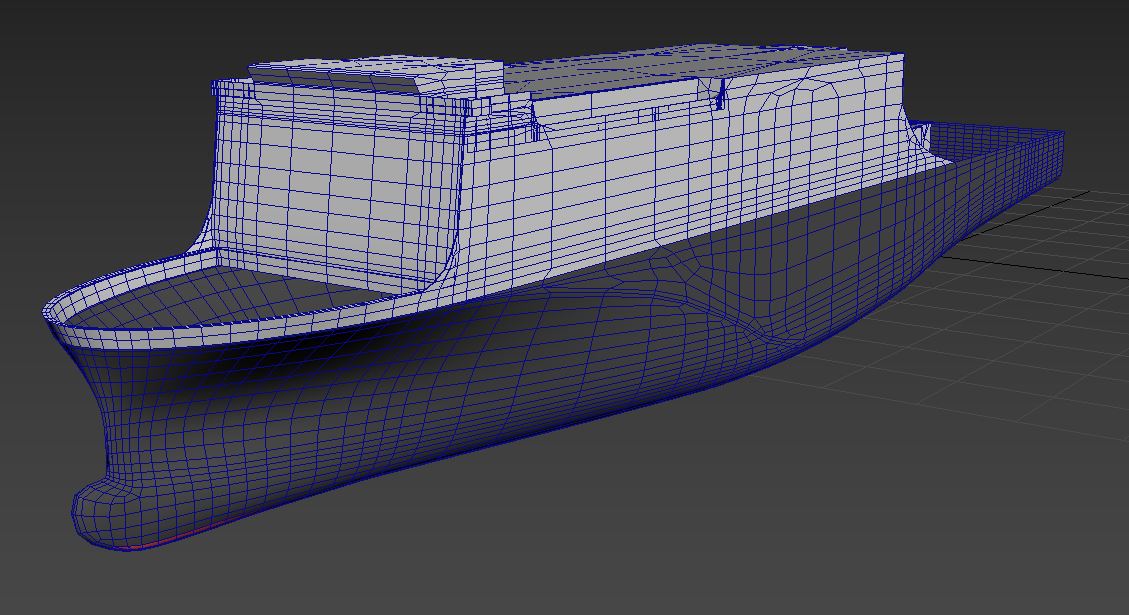
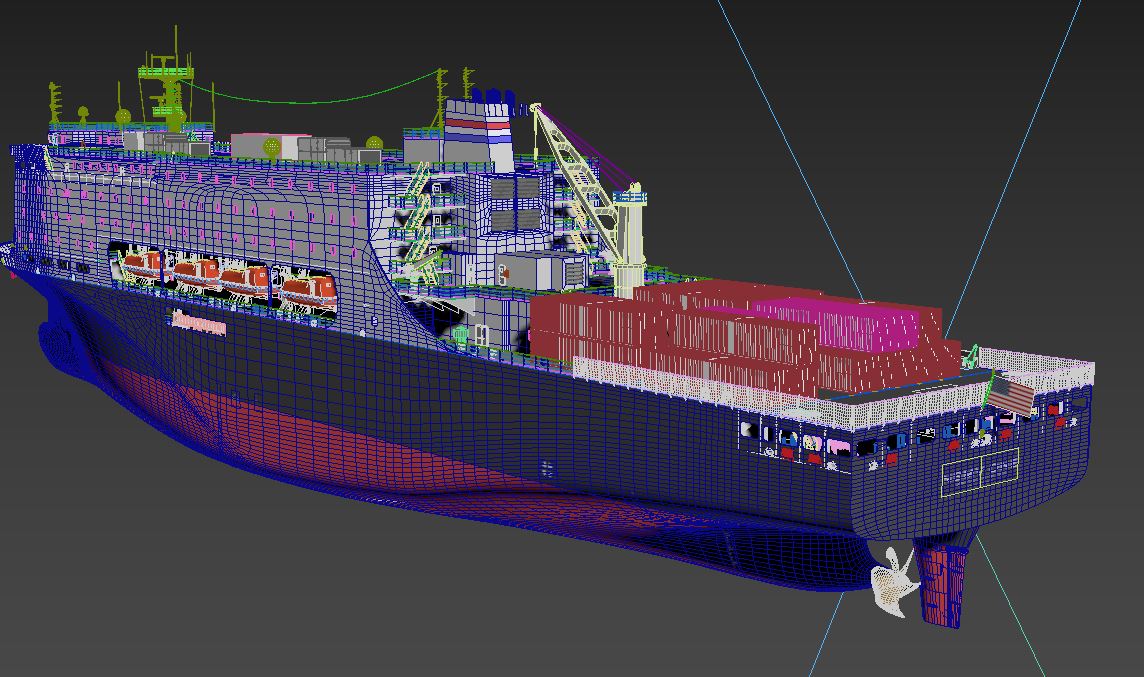
Building the vessel from the available references.
The visual work draws on the material available for the project: drawings, existing 3D models, photographs, videos and design references.
Each source contributes different information. Drawings establish shapes and arrangements. Photographs and design references help describe materials, fittings and the intended appearance of spaces. Existing models can provide a starting point where they are suitable for the presentation.
From these references, we build the 3D content needed for the agreed scenes. That can range from the vessel’s overall form to the furniture, equipment and smaller details visible inside it.
The required detail follows the camera. A broad exterior view and a close view of an interior place different demands on the model. The storyboard helps us decide where that detail will contribute to the finished presentation.
THE PROCESS / 03
Turning models into scenes.
A completed model is only one part of the image.
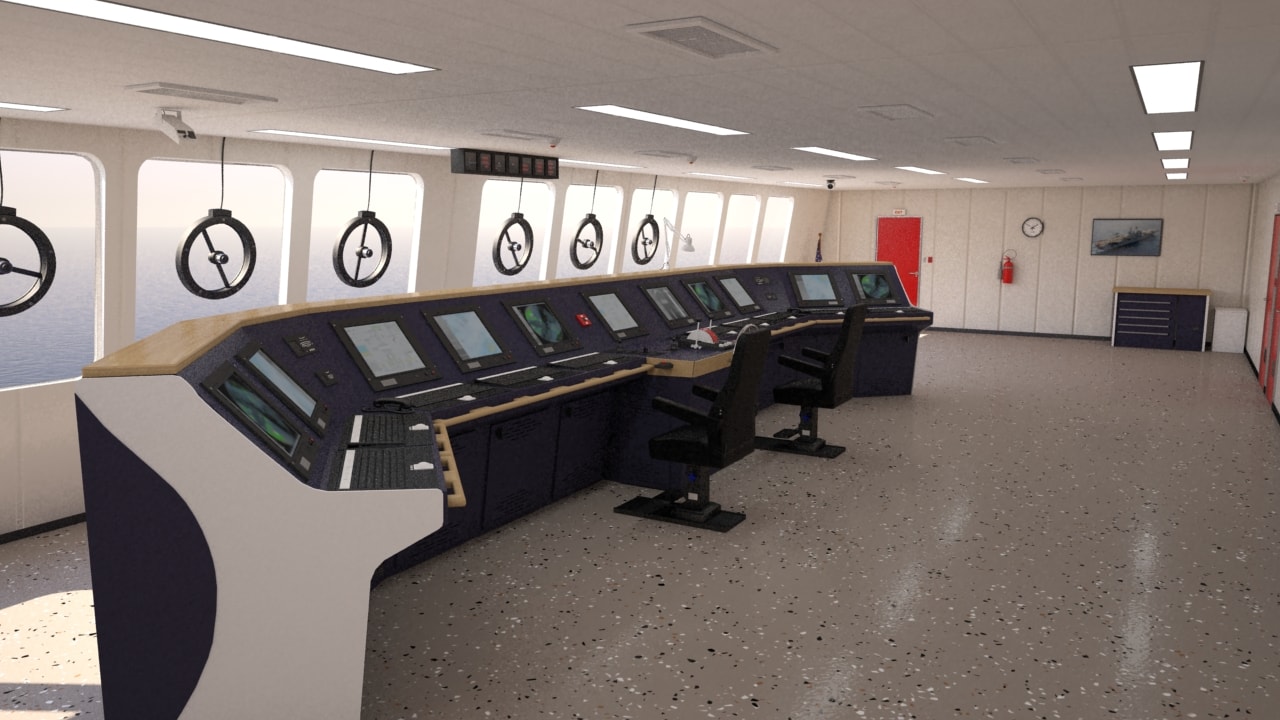
We arrange the scene, develop materials, set the lighting and position the camera. These choices determine how clearly the audience can read the space and how convincingly the design is presented.
For animation, camera movement adds another layer. It can establish the scale of the vessel, guide the viewer through an interior or reveal the relationship between different areas.
On a training ship, a scene may need to make the arrangement and use of a room understandable. In a cruise presentation, it may need to communicate the atmosphere of a passenger space. The visual treatment follows the purpose of the scene.
THE PROCESS / 04
Reviewing the presentation before final rendering.
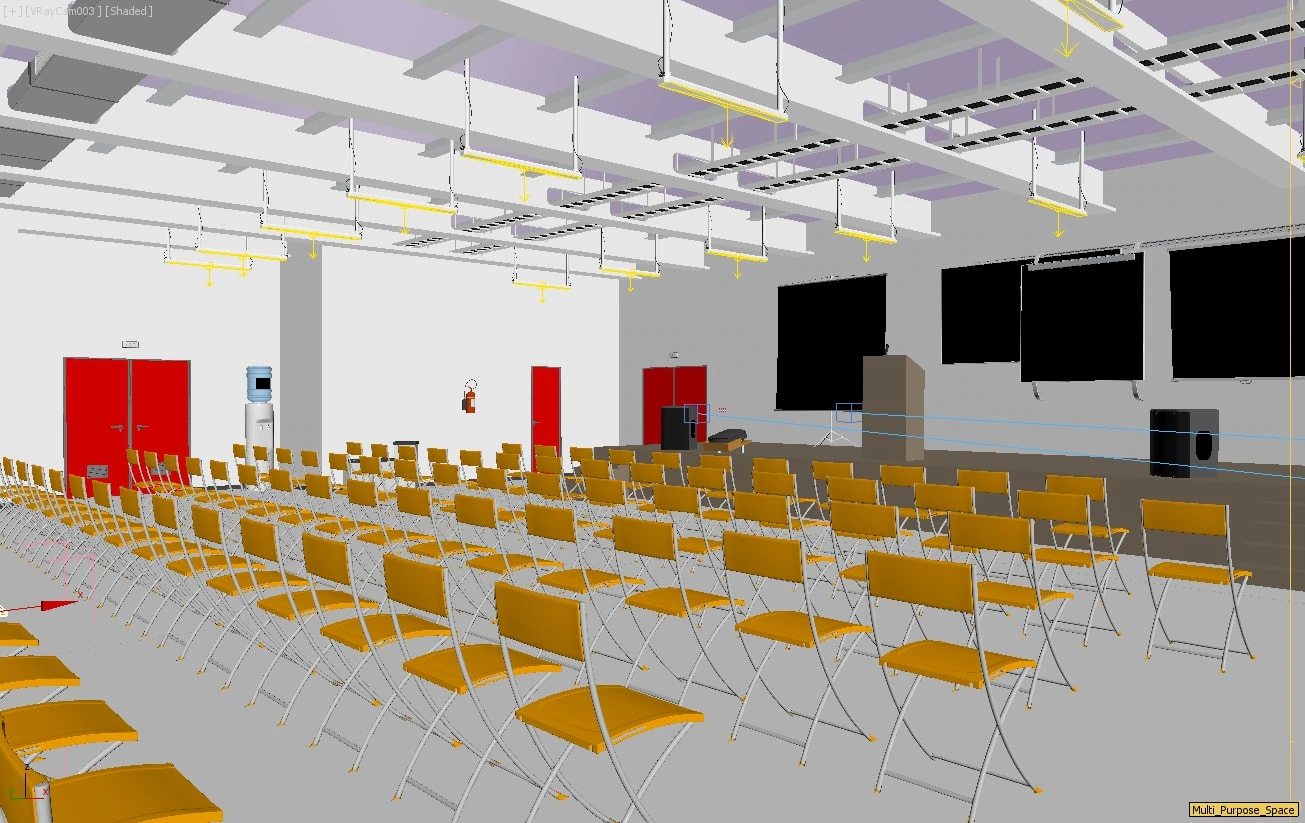
Before rendering the complete animation, we produce previews and test images to check the scenes.
These reviews help us assess camera movement, lighting, materials and the visibility of important details. They also give the client a clearer view of how the planned presentation is taking shape.
In the workflow described here, we also rendered selected frames from the animation to inspect the image sequence before committing to the full render.
Reviewing the work at this stage allows changes to be addressed while the scenes are still being prepared.
THE PROCESS / 05
Bringing the film together.
Once the scenes are ready, we render the full image sequences and assemble them into the final film.
Editing gives the presentation its pace and structure. Annotations can identify features that need explanation, while music and narration support the intended tone and message.
For the NSMV presentation, narration helped connect the views of the ship and its onboard spaces into a coherent explanation. For a cruise presentation, the emphasis can be more visual, allowing the vessel, interiors and surroundings to carry the story.
The finished film brings together the design information and the communication goal established at the beginning.
THE RESULT
Giving a design a form people can understand.
Maritime visualization helps bridge the distance between a technical design and the people who need to understand it.
For NSMV, that meant showing how a vessel would support maritime training. For Scenic Eclipse, it meant helping future passengers picture a ship and an experience that did not yet exist.
Understanding that purpose guides the production: what we model, which scenes we choose and how we build the final presentation.
MARITIME VISUALIZATION
From onboard spaces to complete vessels.
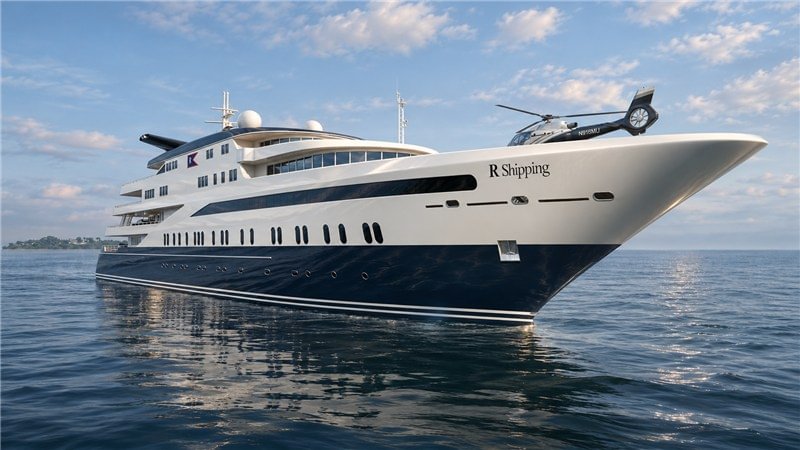
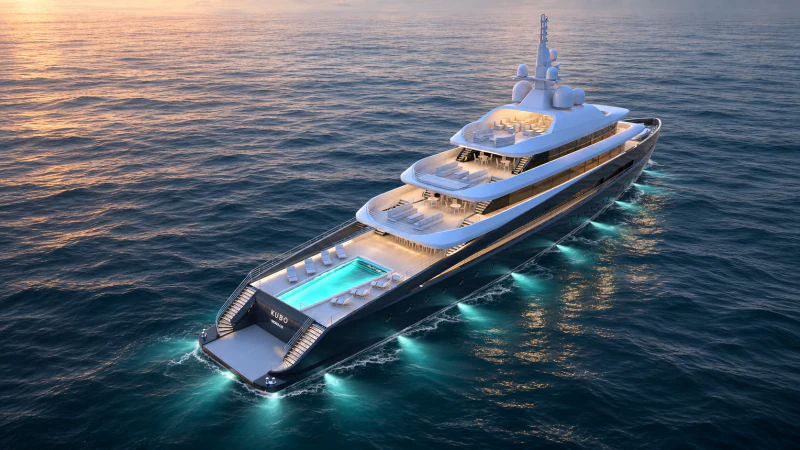
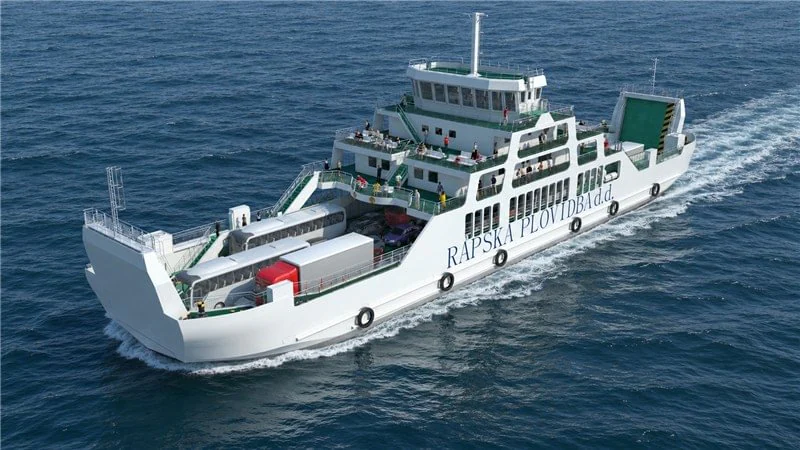
Explore the projects.
Maritime services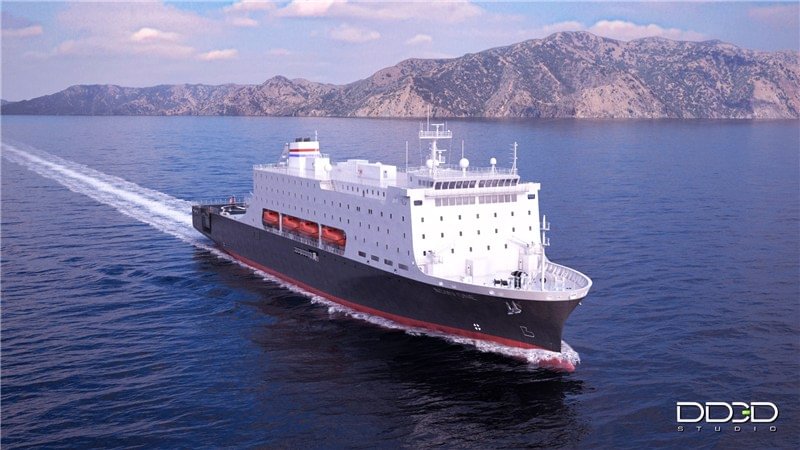
National Security Multi-Mission Vessel
A narrated 3D film for Herbert Engineering Corp. presenting the National Security Multi-Mission Vessel as a maritime training ship.
View project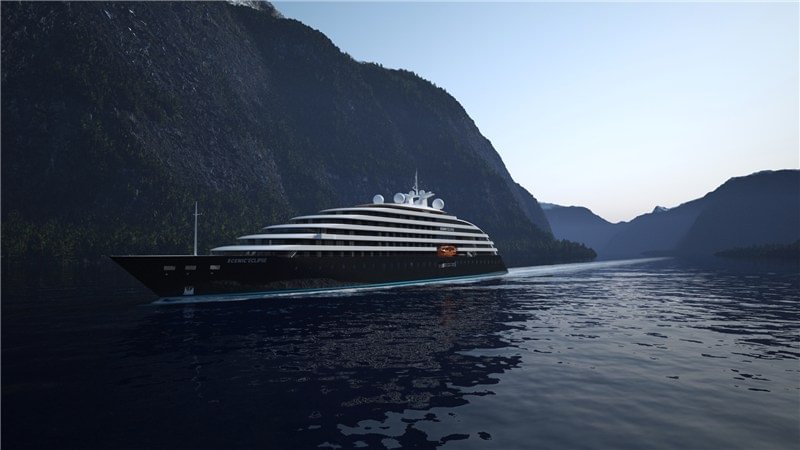
Scenic Eclipse
A 3D video presentation of Scenic Eclipse, developed in collaboration with the ship’s design and engineering teams.
View projectYOUR NEXT STEP
Planning a maritime visualization?
Tell us what your vessel or system needs to communicate, who the presentation is for and what drawings, models or references you already have.
Let’s talk